Before my daughter was born I decorated wooden wall letters to hang in her nursery, over her diaper changer. I looked at buying some but thought a personal touch would not only save me some money, but be a fun way to get exactly what I was looking for. It didn't take much time, and I had nothing but it when I was waiting for her to arrive!
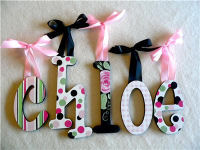 |
| (This isn't mine but it's an example of a finished product) |
{All you need}
Is a little modge podge, paint, the letters, an X-ACTO knife, a little sand paper, and some scrapbook paper, and you're good to go!
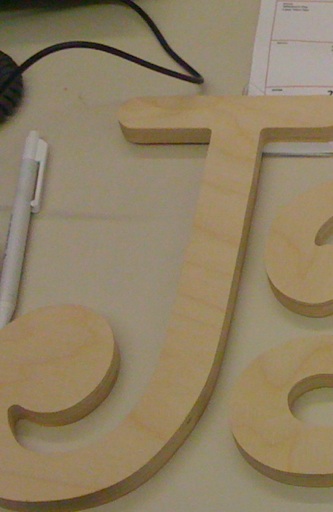
{Step 1}
I painted the backs and sides of the letters.

{Step 2}
Spread Modge Podge all over the letter then placed the scrapbook paper over top, and put more modge podge on top.

{Step 3}
Then I used my X-ACTO-knife to trace/cut around the edges of the letters with the scrapbook paper I picked out.

Sand around the edges to smooth out the paper next to the wood.

{Step 5-Optional}
To make it pretty and hang it up I tacked some satin ribbon to the back of the letters and hung them up in her nursery!


