Showing posts with label diy. Show all posts

Monday, December 27, 2010

Little Ms. Claus Dress: What I'm Makin' Monday

Monday is almost over, but I figured it's better I post it today than next Monday when it's WAY after Christmas! I'm so proud of my creation!
I can't take all of the crecit cause I got an idea to make a dress like this after seeing a similar one by my friend Jess's sister who own's the shop Our Little Tutus. So if you think you can't make one of these, you can buy one for under $30!

I saw a picture of her Santa tutu dress and decided to create one with the flair of a pettiskirt. So I made a tutu pettiskirt style dress using tulle, ribbon, a red crocheted baby beanie and headband and feathers/more tulle.

I made it by hand sewing together a red baby beanie I opened up to a wide baby headband.

Then I made the tutu dress like I explained in this tutorial. Then I tied small white strips to the ends of the red tulle skirt to make it look like a mock pettiskirt.
I added more frill by hand stitching a feather boa-like embellishment to the top front of the dress bodice. Note: DON'T stitch it all around. I did that at first and forgot that she'd have to fit in it. The bodice gives but the feather's didn't so I had to undo half of my stitching around the back.

After a photoshoot with the feather's I realized baby drool and feathers don't mix so I went back and tied white tulle to the top of the bodice (the same way I did with the red around the bottom) and trimmed it all down to the same length.

I added a black satin ribbon as the Ms. Claus belt with a rhinestone buckle (I found at Hobby Lobby).
TADA!

Sunday, December 5, 2010

How to Make DIY Wall Letters: What I'm Makin' Monday

I've been meaning to post about this for a long time, but I never got around to it because I forgot to import my photos.

Before my daughter was born I decorated wooden wall letters to hang in her nursery, over her diaper changer. I looked at buying some but thought a personal touch would not only save me some money, but be a fun way to get exactly what I was looking for. It didn't take much time, and I had nothing but it when I was waiting for her to arrive!
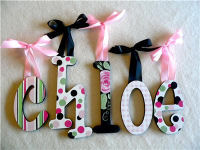
(This isn't mine but it's an example of a finished product)
I'm not much of a painter myself so I used scrapbook paper to get a clean look with a pretty finish that makes it look like it was painted on!
{All you need} 
Is a little modge podge, paint, the letters, an X-ACTO knife, a little sand paper, and some scrapbook paper, and you're good to go!

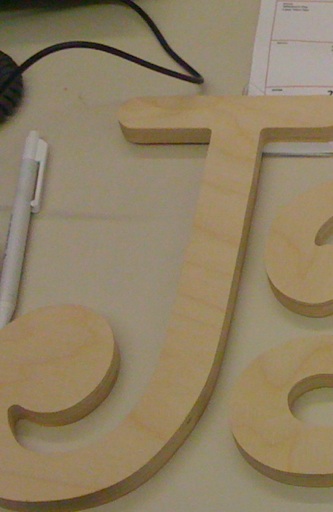
I ordered my daughter's letters off Ebay. I got 10" letters for a couple dollars each from a place like this.

{Step 1} 
I painted the backs and sides of the letters.
{Step 2} 
Spread Modge Podge all over the letter then placed the scrapbook paper over top, and put more modge podge on top.
{Step 3} 
Then I used my X-ACTO-knife to trace/cut around the edges of the letters with the scrapbook paper I picked out.
{Step 4}
Sand around the edges to smooth out the paper next to the wood.

{Step 5-Optional} 
To make it pretty and hang it up I tacked some satin ribbon to the back of the letters and hung them up in her nursery!
 Trust me, it looks marvelous!

Another example: Source.
What did you make?

What I'm Making Monday


(highlight ctl+c)

Monday, November 1, 2010

DIY Hairbow Clips: What I'm Making Monday

Ever seen those adorable hair bow clippies? I found a cute shop on Etsy where their bows are all just $1. But before I went crazy I thought I'd try making some of my own and whatdoyaknow... It's way easy!
What you'll need:
Some ribbon that's about 3/8in wide
Metal 2 prong clips
Hot glue
Scissors
Lighter (to defray/seal the ends of the ribbon)

Step 1: Glue ribbon around and inside the prong clip

Step 2: Cut a piece of ribbon about 2in long and glue the two ends together so it makes a circle.

Step 3: Glue the middle of that circle together by placing a dab of glue on one end then squeezing it together.

Step 4: Glue the pinched circle to the metal prong covered in ribbon.
Step 5: Cut a 1 inch piece of ribbon, wrap it around the pinched part of the bow and glue it to the top inside part of the clippie.
TADA!! Her first Pony tail!
hair clip
What do you think? I went crazy and made all sorts of Halloween ones that I forgot I made until Halloween night but oh well, there's always next year.
Two people who comment on this post before next Monday (November 8th) will win a clippie of their choice. You can choose one of these, or I have lots of other colors of ribbon if you have another color in mind.

If you follow my blog or link up to What I'm Making Monday below, let me know in another comment as an extra entry!

Winner from last week's WIMM: #22 April! Email me back and I'll send you the tutu dress!

What I'm Making Monday


(highlight ctl+c)

Saturday, March 13, 2010

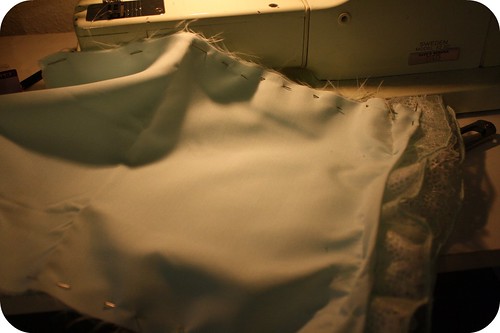
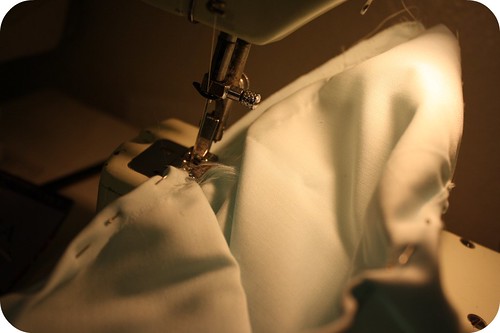
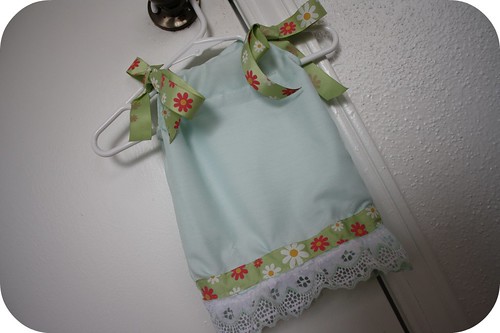
I Made a Pillowcase Dress!

I'm standing by my stance that I'm not crafty... But I'm taking a stab at new crafts as a part of my apparent nesting craze.

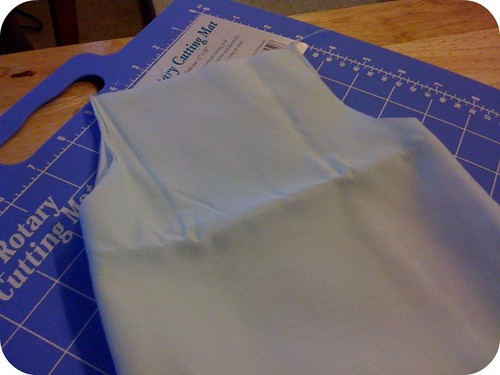
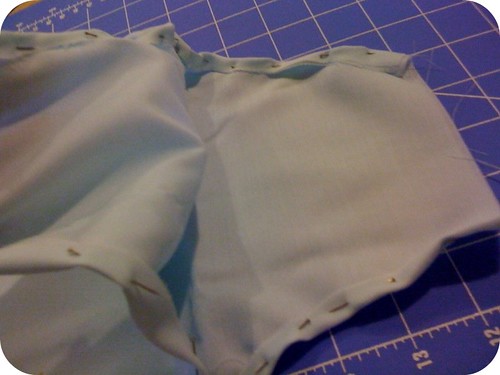
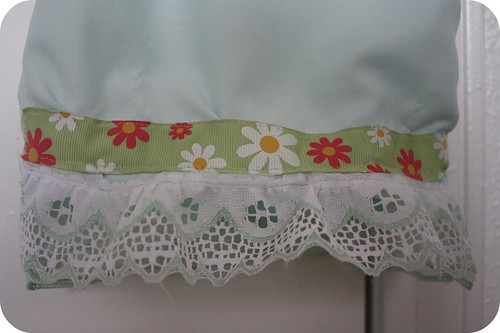
I'm not going to post a DIY for this one right now, I'm sure you could google and find lots of tutorials. I like this tutorial on Baby Rabies, but it's a little different than the one I made since I added more frill and ribbon. I found her tutorial after I made mine and quite honestly I kinda just "wong it" with this one and didn't follow measurements or a pattern besides holding it up to a couple of other dresses I've bought for her.


Not bad for my first one but I'm going to make another attempt soon!I was hoping it would come out about 3 month-size but it's really small, more like newborn size. So hopefully she'll be more around 7lbs when she's born and not like her more than 10lb daddy! We'll see!

Promise the next one I make (if it's cuter) I'll post all my own DIY instructions so you can make your own pillowcase dress!

What do you think? Like it?